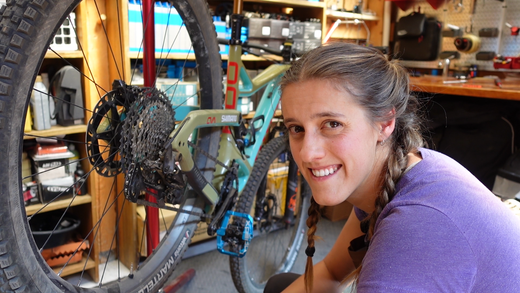
In 2020 I suffered a major injury that kept me off the bike for the entire year. That, plus covid-19, made for some pretty rough times. One of the ways I coped was by learning how to wrench on my own bike. Previously, I could barely fix a flat tire, but I had a good teacher (my husband, Macky) and working on bikes became a way to stay sane while expanding my skillset, even if I wasn’t riding. My bike maintenance lessons were pretty hilarious, and I found myself making a lot of dumb mistakes—errors that you don’t usually see in pro bike maintenance tutorials on YouTube. We decided to publish these lessons online to create a space for pressure-free, beginner-friendly bike maintenance tutorials. Thus, our channel SYD FIXES BIKES was born. I’ll be sharing some of my tutorials here on the PEARL iZUMi blog. So if you’re new to riding or just starting to do your own bike maintenance, you’re in the right place!
In this video, I share my process for finally understanding how to adjust the rear derailleur on my bike. It took me far too long to wrap my head around this, and I’m hoping the explanation in this video will help you get there way faster than I did.
What You’ll Need:
- Allen keys
- Phillips head screwdriver (depends on your derailleur!)
- Your fingers
- Your brain
The 3 Components of Derailleur Adjustment:
Cable tension (which you adjust by tightening/loosening the cable manually or by using the barrel adjusters).
Limit screws (which prevent your chain from falling off the top or bottom of the cassette).
The b-index (which determines the angle of the derailleur against the frame).
If this feels overwhelming—don’t worry—we’re going to break it down!
If your bike is “skipping gears” (i.e when you shift into a certain gear, the chain slips up or down the cassette, or just sits there making that annoying clickety-clacking noise), start off by checking your chain stretch. If your chain is worn out, replace it with a new one and see if the problem persists.
If your chain is fine, you probably need to adjust cable tension. You generally don’t need to adjust the cable at the cable fixing bolt unless you have just installed a new cable and left it way too loose. The better way to adjust your cable tension is with the barrel adjusters. The easiest way to find out whether your cable is too loose or too tight is to shift into your hardest gear and see whether the chain tries to move up the cassette (to an easier gear). If it does, that means you have too much tension. If it doesn’t, then shift one gear easier and see if the chain is able to move into that gear with just one shift on your shifter. If not, that means your cable is too loose.
Tighten your cable by unscrewing your barrel adjustor. This increases the length of the path between the shifter and the derailleur, which tightens the cable. To loosen the cable, screw the barrel adjustor in, thus decreasing the length of the path.

If your chain is falling off either end of the cassette (at the top into your spokes or the bottom onto the frame) or you aren’t able to get into your lowest or highest gears, you probably need to adjust your limit screws. If, say, your chain keeps falling off behind the cassette, shift until the chain is in the biggest cog on the cassette. At this point, one of your limit screws is probably almost touching the derailleur. That’s your low limit screw. Tighten until your chain no longer falls off the cassette and stays on the easiest gear. If it’s falling off on the bottom of the cassette, repeat these steps but with the other limit screw. If you aren’t getting into either high or low gears, you’ll want to shift as far as you can and then loosen the relevant limit screw.

If your bike won’t go into the easiest gears or is rubbing as it gets near the easier gears, you may need to adjust your b-index screw. To check the b-index, shift into your easiest gear and see how much space there is between the top of the upper pulley wheel and the bottom of the biggest cog. Different derailleurs require different distances, so double-check the required distance for your derailleur. Tighten the b-index screw to move it away from the frame and increase the gap. Loosen it to decrease the gap.

If your bike suddenly started shifting poorly, especially after a crash, hitting the rear end on something, or transporting the bike, you may have a bent derailleur hanger. We don’t talk about this in the video because it isn’t really a derailleur adjustment, and unfortunately, straightening out the derailleur hanger requires a special tool, so this means a trip to your local bike shop (or just replace the hanger if you have a spare).
Derailleur adjustments can be finicky, as there are several variables involved, so try not to get frustrated. Stay patient, revisit these steps and with practice you’ll be on your way to consistently smooth shifting! Stay tuned for more tips from SYD FIXES!


