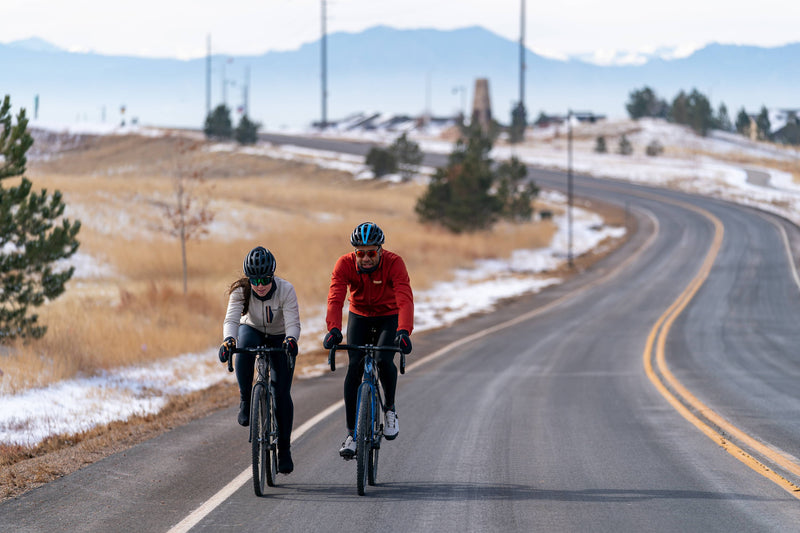
The word bikepacking and newly specialized soft-mount bike bags may be recent additions to the adventure cycling scene but, strapping your stuff to your bike and traveling in a self-sufficient, human-powered fashion has been a concept connected with the sport since before the earliest years of the Tour de France. Still, with gravel and all-terrain bikes that are now equipped to accommodate wider tires combined with social media and online route-sharing resources, it’s never been easier to load up your bike and pedal off for an adventure. So, if the idea of long days in the saddle exploring new terrain, or the allure of golden hour has you hooked, read on for some tips on getting started.

Tips for Your First Bikepacking Trip
Define Your Route
Your intended route will dictate nearly everything else about your trip preparation. Start by finding a route that feels inspiring to you through online resources (i.e., The Radavist, Bikepacking.com, Ride With GPS, or even checking out the Strava heatmap in the area you want to travel in) or by talking with folks who have experience bikepacking.
The relative remoteness/populatedness of your intended route will factor greatly into how you pack for your trip. If you’re traveling through a sparsely populated area, with long stretches between towns or opportunities to resupply, you will need to have enough capacity on your bike to carry adequate calories and water for these longer stretches. A four-day trip through the desert of New Mexico or Utah will look a lot different than a town-hopping spree through Colorado’s high country, or along the California coast. You can find more details on how to make these decisions in the Gear section.
Be sure to carefully consider how the terrain you wish to cover will affect the duration of your trip. If you have never ridden a loaded bike before, be prepared to cover miles much slower than you might on a day ride. Intuitively, you can assume that paved miles will make for the fastest ground and each step towards rougher terrain will be accompanied by a progressively less efficient pace: smooth gravel is slower than pavement, sandy or chunky unpaved surfaces (like mining roads or jeep roads) are a bit slower still, and technical singletrack makes for the most “party-paced” kind of excursions. Go into your trip with conservative daily mileages planned, ending at known camping or lodging destinations, to avoid feeling stressed. But remember, you're out there for the views, not the watts!
Finally, do your homework before setting out! Having a digital and printed version of your route’s cue sheet is ideal, along with notes about water sources, lodging, and food. If you are making your own route, spend some time scoping the terrain on Google Earth and be sure that all the roads you plan to take are open to public thru-traffic. It’s also not a bad idea to have a couple of bail points or options to cut the route short, in the event of bad weather or some other unforeseen setback.

Gear
Gear choices can help set the tone for your trip and don’t have to break the bank. Start by assessing what you have (including what you might be able to borrow from friends!) and then make a list of what your ideal setup might be lacking. Used gear shops, REI Garage Sales, end of year clearances, or looking for second-hand online, are all great ways to find affordable options to get a taste for traveling by bike without investing too much from the outset.
Kit
Riding in what you’re comfortable in is the most important choice in creating a bikepacking kit. An equally important consideration is prepping for the range of temperatures and conditions you may encounter. Finally, a high-quality chamois and some extra storage—like cargo bibs and big jersey pockets—are never a bad idea for keeping snacks on hand. Here are a few of our recommended bikepacking kit essentials:
-
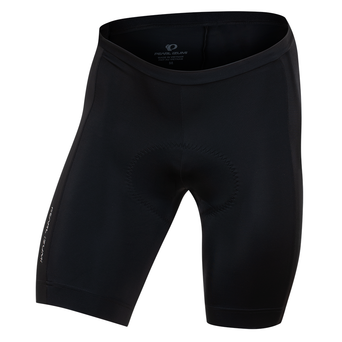
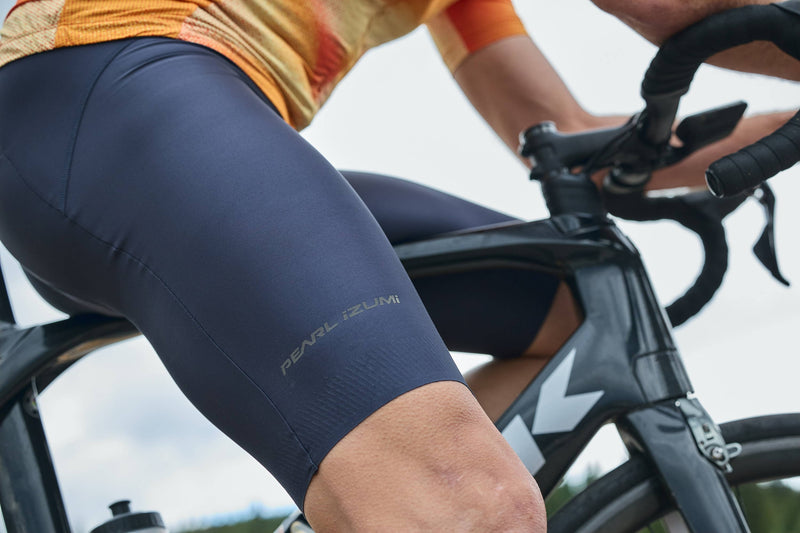
Expedition PRO Bib Shorts - Because bibshorts take pressure off of your midsection, they can make long hours in the saddle much more comfortable than shorts. Fitting to the name, our Expedition PRO Bibshort features our plushest chamois for all-day comfort, cargo pockets for light gloves, phone or snacks, and alongside plenty of endurance-focused features.
-
Attack Jersey - Offering a sleek fit that’s not quite as compressive as the PRO Mesh Jersey, the Attach is well-matched for the demands of bikepacking. A tailored fit paired with our three bellowed rear-pocket panel creates a slim and capable profile that’s still comfortable hours (and hours) in.
-
Rove Tech Henley- For a more casual look, turn to the Rove Tech Henley. The drirelease® moisture-wicking fabric construction keeps you cool on the bike and lowkey tech features like our BioViz® reflective elements and five-snap placket bring more performance to your ride.
-
Arm & Leg Warmers - Sun sleeves, sun legs, and minimal warmers for your upper and lower body offer adjustable protection from damaging UV or the creeping chill of night time temps as the sun starts to dip.
-
Rainwear - If rain is at all a concern on your trip, don’t skimp on a real rain jacket and rain pants. If you’re traveling through extremely dry climes and want a more versatile layer, the Summit Barrier Jacket is water resistant in light showers while offering breathable wind protection.
-
Expedition Shoes - With a trail-inspired lug pattern with the lightweight feel and adjustability of a top tier road shoe, the Expedition is a versatile platform for all terrain riding.
-
Gloves - For cooler seasons, consider packing a lightweight and heavier option. During the warmest months of the year, a summerweight glove and/or fingerless gel pad design will keep you in the comfort zone.
Bags
A classical bike-touring setup might include rear or front rack(s) outfitted with panniers. Rear racks are generally compatible with all bikes, as they attach via the thru-axle, but front racks often require specific fork mounts. This kind of hardware allows you to hang high-capacity panniers off the front and/or rear of the bike. This is a great option for smoother-surface riding (i.e. pavement and smooth gravel), but racks can fail on rowdier terrain (as well as affect the handling of your bike). Paired with a large handlebar bag, this setup has room for a tent and stove, camera, ample food and water, all easily accessible. Still, this is not a light setup, but it’s comfortable, makes getting to your gear a cinch, and provides extra volume for carrying all of your campfire feast ingredients (and maybe even a brew, or two).
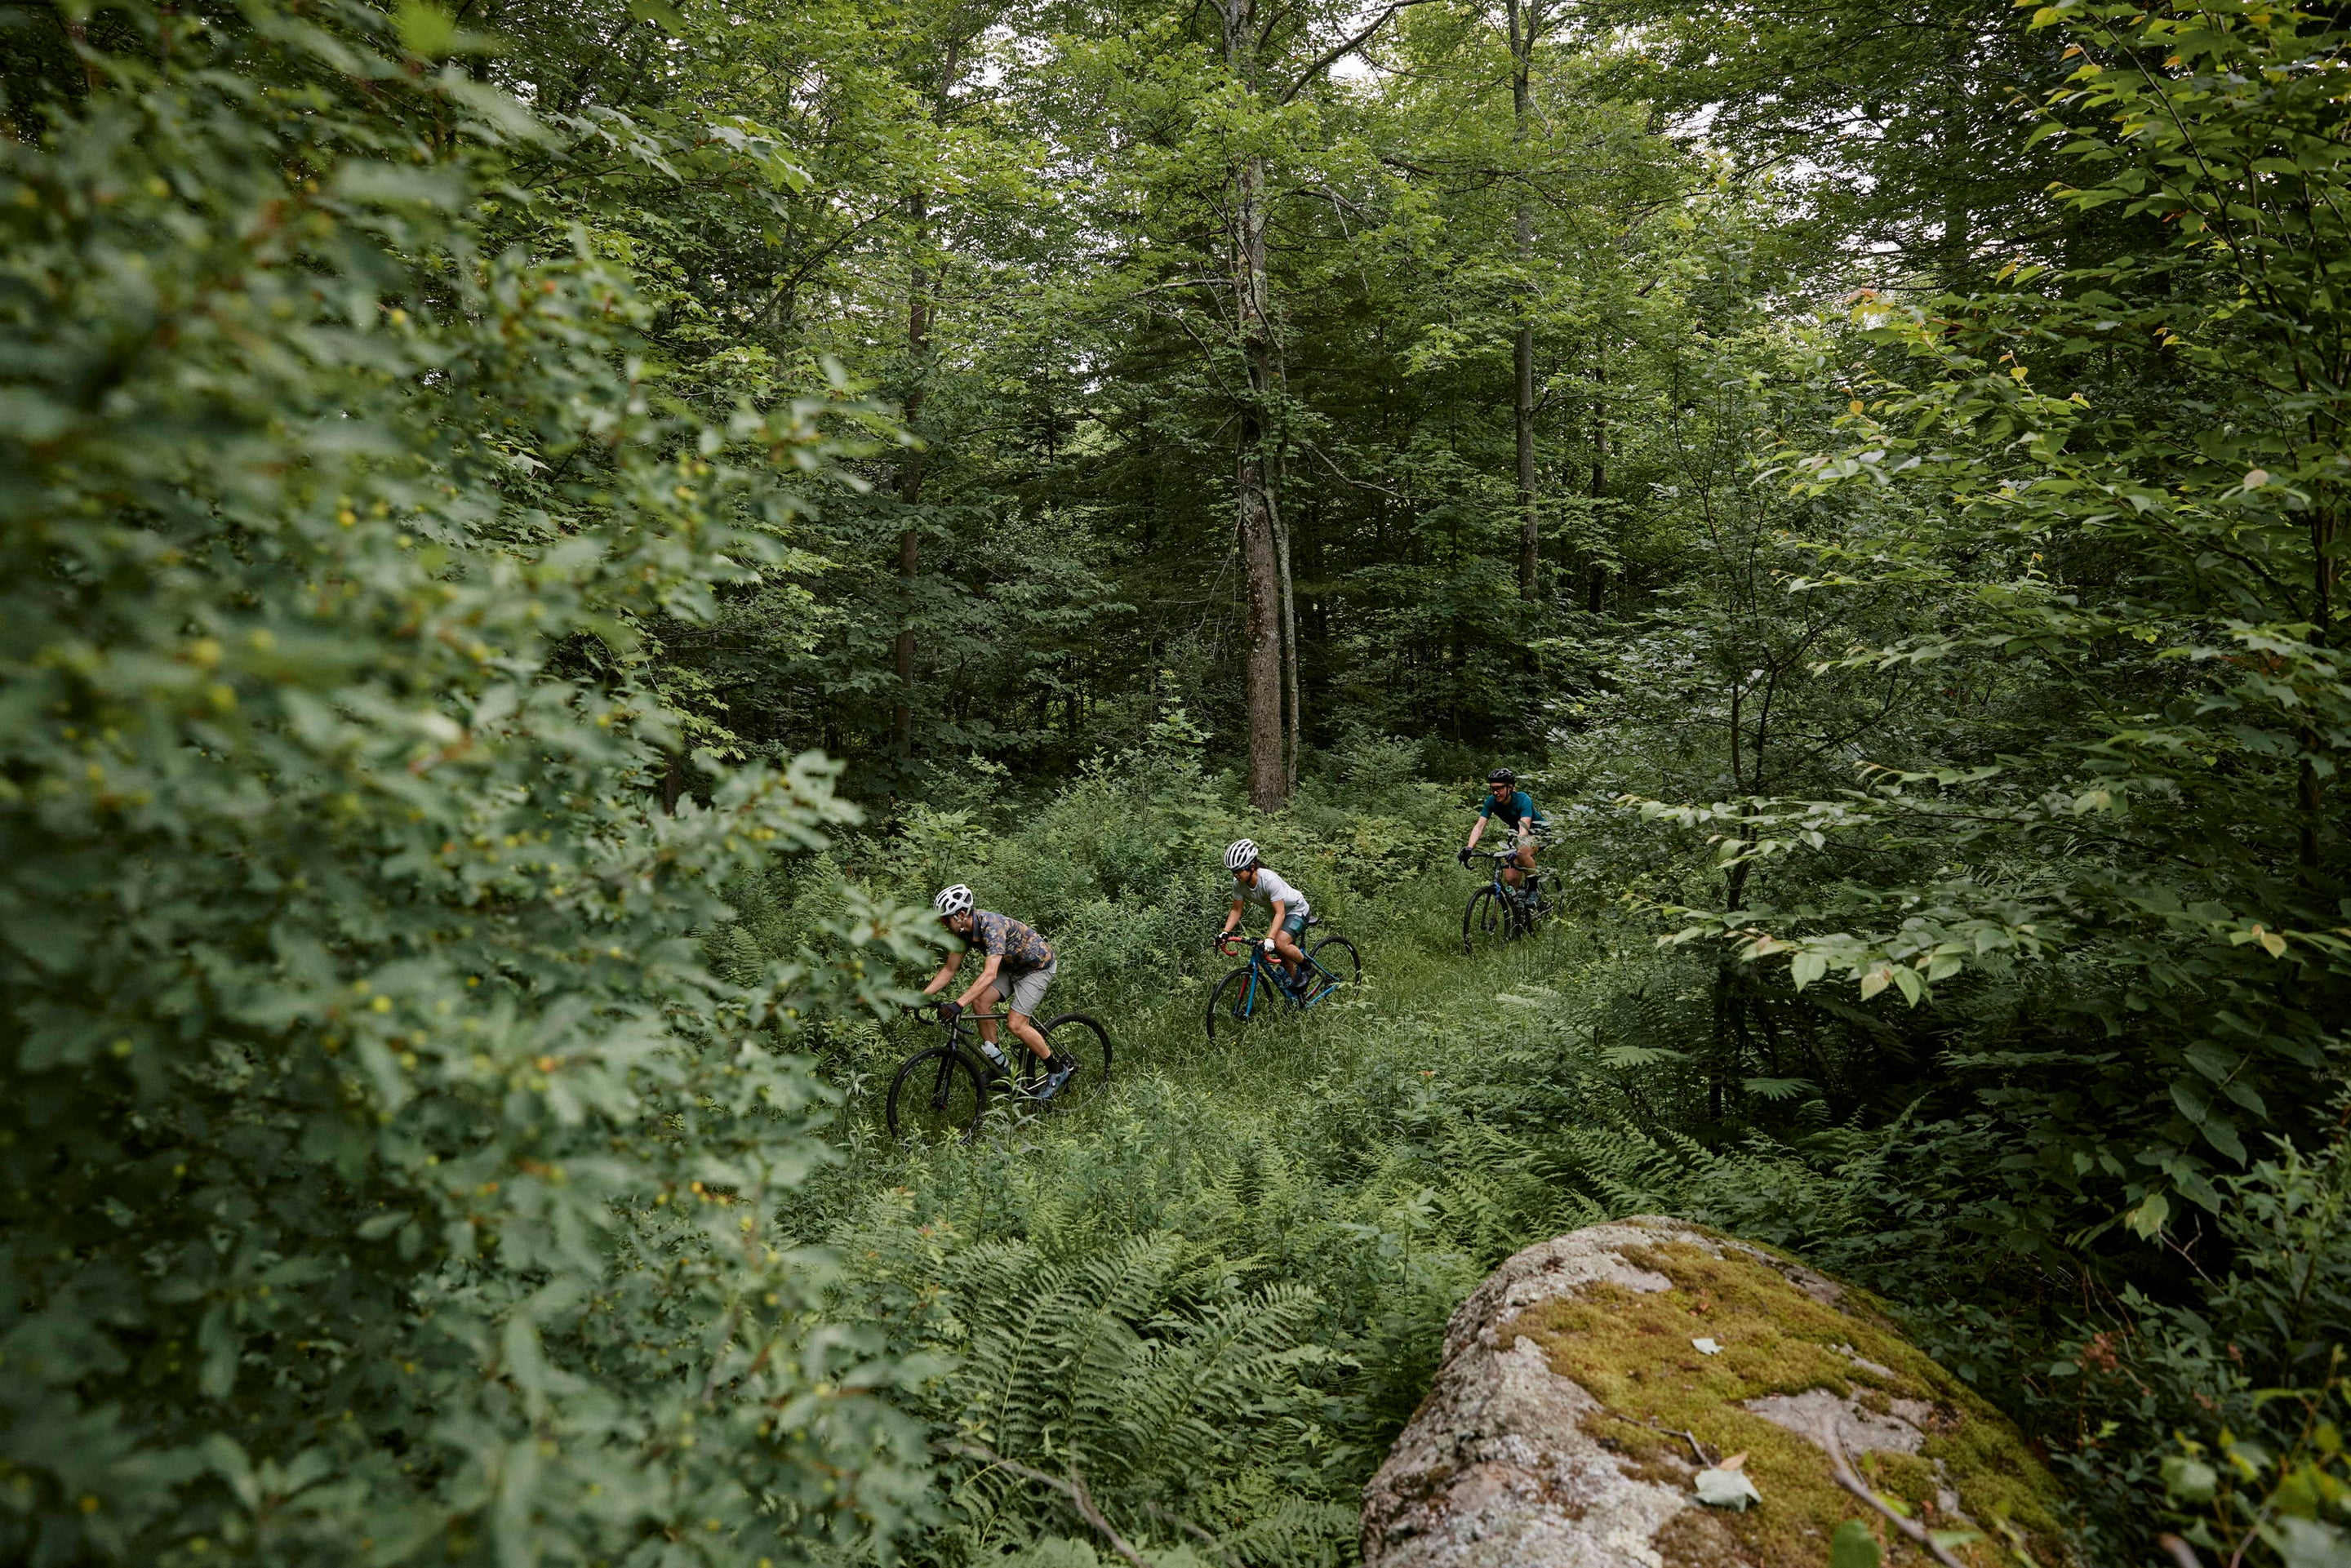
Alternatively, a more modern bikepacking setup—which centers around soft-mount bags (bags that require no hardware)—is honed with efficiency in mind, no extra fluff, and allows for more technical riding if that’s your jam. Ditch the racks and panniers for a slim seat bag and full, or half, frame bag combo. Replace your canvas or cordura bar bag with a sleek and tidy xpac or dyneema bar roll. Swap the tent for a bivy sack and/or tarp and ground cloth. Heck, throw on some aero bars if you want to switch up your hand positions while maximizing time in the saddle. The idea is to keep your bike feeling svelte and packing list trim so that you won’t be wasting time unpacking/packing unnecessary extras in between bouts of riding, and the overall lighter load makes covering miles easier.

Tires
Regardless of bag choices, one gear consideration that, while not mandatory, will greatly reduce stress on multi-day trips is a tubeless tire setup. Tubeless tires can withstand small punctures and are (usually) self-sealing, making tire mechanicals less of a threat. When running tubeless, it is a good idea to bring tire plugs and at least one tube and a patch kit, just in case.
Depending on your route, you may also consider running wider tires. If you plan to encounter sand but no rubble, running wider tires with low-profile lugs gives you more flotation without adding rolling resistance. For rougher terrain, consider a wider tire with beefier tread. If you’re tarmac touring, slicks should do the trick (but 32-35mms might be a worthwhile choice to provide a little more stability if riding a loaded bike).
Water & Nutrition
A stove or no stove, that is a pivotal question! Carrying a small stove and pot—like a JetBoil or other small tripod design—allows you to make quick, hot food (think: ramen, oatmeal, mac n’ cheese, coffee etc.). The trade-off is the weight and space it takes up on your bike and, sometimes at the end of a hard day, meal prepping is the last thing you want to do. The choice here is yours.
If you opt not to carry a stove, consider carrying high-calorie, non-perishable food for your expected riding durations between resupplies. Starting with a few frozen bean burritos (that can thaw while you ride) is a great trick! Trail mix, canned fish, squash-resistant tortillas and nut butter are all great higher calorie options. Still, at the end of the day the best food to bring is the food you’ll want to eat. If this will be your first time out, pack more than you need to avoid the dreaded bonk!
Water will largely depend on your route—are their natural water sources along the way; how frequently do you roll through towns, or refill options like convenient stores? How hot the days will be is another factor. For example, if you are desert touring, plan to have the ability to carry at least 4-5L of water per person/day (more if you plan to use water for cooking, or if it is going to be very hot). This doesn’t necessarily mean you need to set out with that much water strapped to your bike but you certainly want to have that carrying capacity if water sources are scarce.
For instance, if you’re planning on riding 50mi on your first day, and there’s a water source at mile 30, only carry what you need for those first few hours, then camel up for the next stretch! Alternatively, if you are not guaranteed to hit water until the end of Day 2 plan more conservatively by packing all of your water from the outset. When carrying a lot of water is a must—or if you don’t have fork mounts for extra cages—packing a water bladder in your frame bag (or wearing a hydration pack) is another way to make sure your hydration needs stay met! If there are natural water sources along your route, bring a small filter for on-the-go refilling (filtering from smaller creeks and streams is more ideal than large rivers, as they are generally less contaminated and contain less particulate matter that can clog your filter).
Packing Your Bike
Iconic French randonneuring-inspired bikes are characterized by skinny, straight steel tubing with level (or nearly level, on smaller frame sizes) top tubes. This creates a large front triangle as compared to more progressive modern day geometry. If this is your rig, maximize that interior triangle with a full frame bag.
If you ride a carbon bike, your interior triangle might have less available real estate, and curved tubing may require running a slightly smaller bag. Either way, prioritize carrying your heaviest stuff—electronics, tent/ poles (if bringing), repair items, toiletries, stove (if bringing) and dense food—in the triangle, and ideally low to the ground (if running panniers, heavy items can also ride there). Lighter, bulky items, like extra clothes can ride up high, but keep them handy for ease of layering. Keep your sleep kit tucked away for morning and evening use, in a bar roll (which is more involved to access), in a large handlebar bag and/or seat bag.
Touring or bikepacking with wider handlebars is common—they allow for more room up front to accommodate a bag or bar roll and provide extra stability for handling a loaded bike.

A Basic Packing List
-
Repair Kit: Pump, tube(s), patch kit, plugs (for tubeless), multi-tool, tire levers, chainbreaker & extra link(s), extra sealant (depending on route/ distance), duct tape, valve core remover.
-
Lights: Front and rear bike lights, headlamp (nice for mornings/ evenings at camp). BE SEEN.
-
Batteries & Electronics: spare batteries if your lights require these, wall-charger (for short charges at cafes, restaurants, gas stations, etc.), power bank (such as Goal Zero), and all your accessory charging cords.
-
Toiletries
-
Sleep System (unless you are hotel/ Airbnb touring): sleeping bag, sleeping pad, and some combination thereof a bivy, tarp/ground cloth and/or tent.
-
Clothes
-
Food & Water: Decide how much of both you will need based on your route, and remember to leave a little extra space in your bags if you’re planning to buy extra food en route! It’s easy to get caught up in the details.
Remember the best bike is the bike you have and you can refine your setup for trips as you gain more experience. So gear up, get out there and have yourself an adventure!
