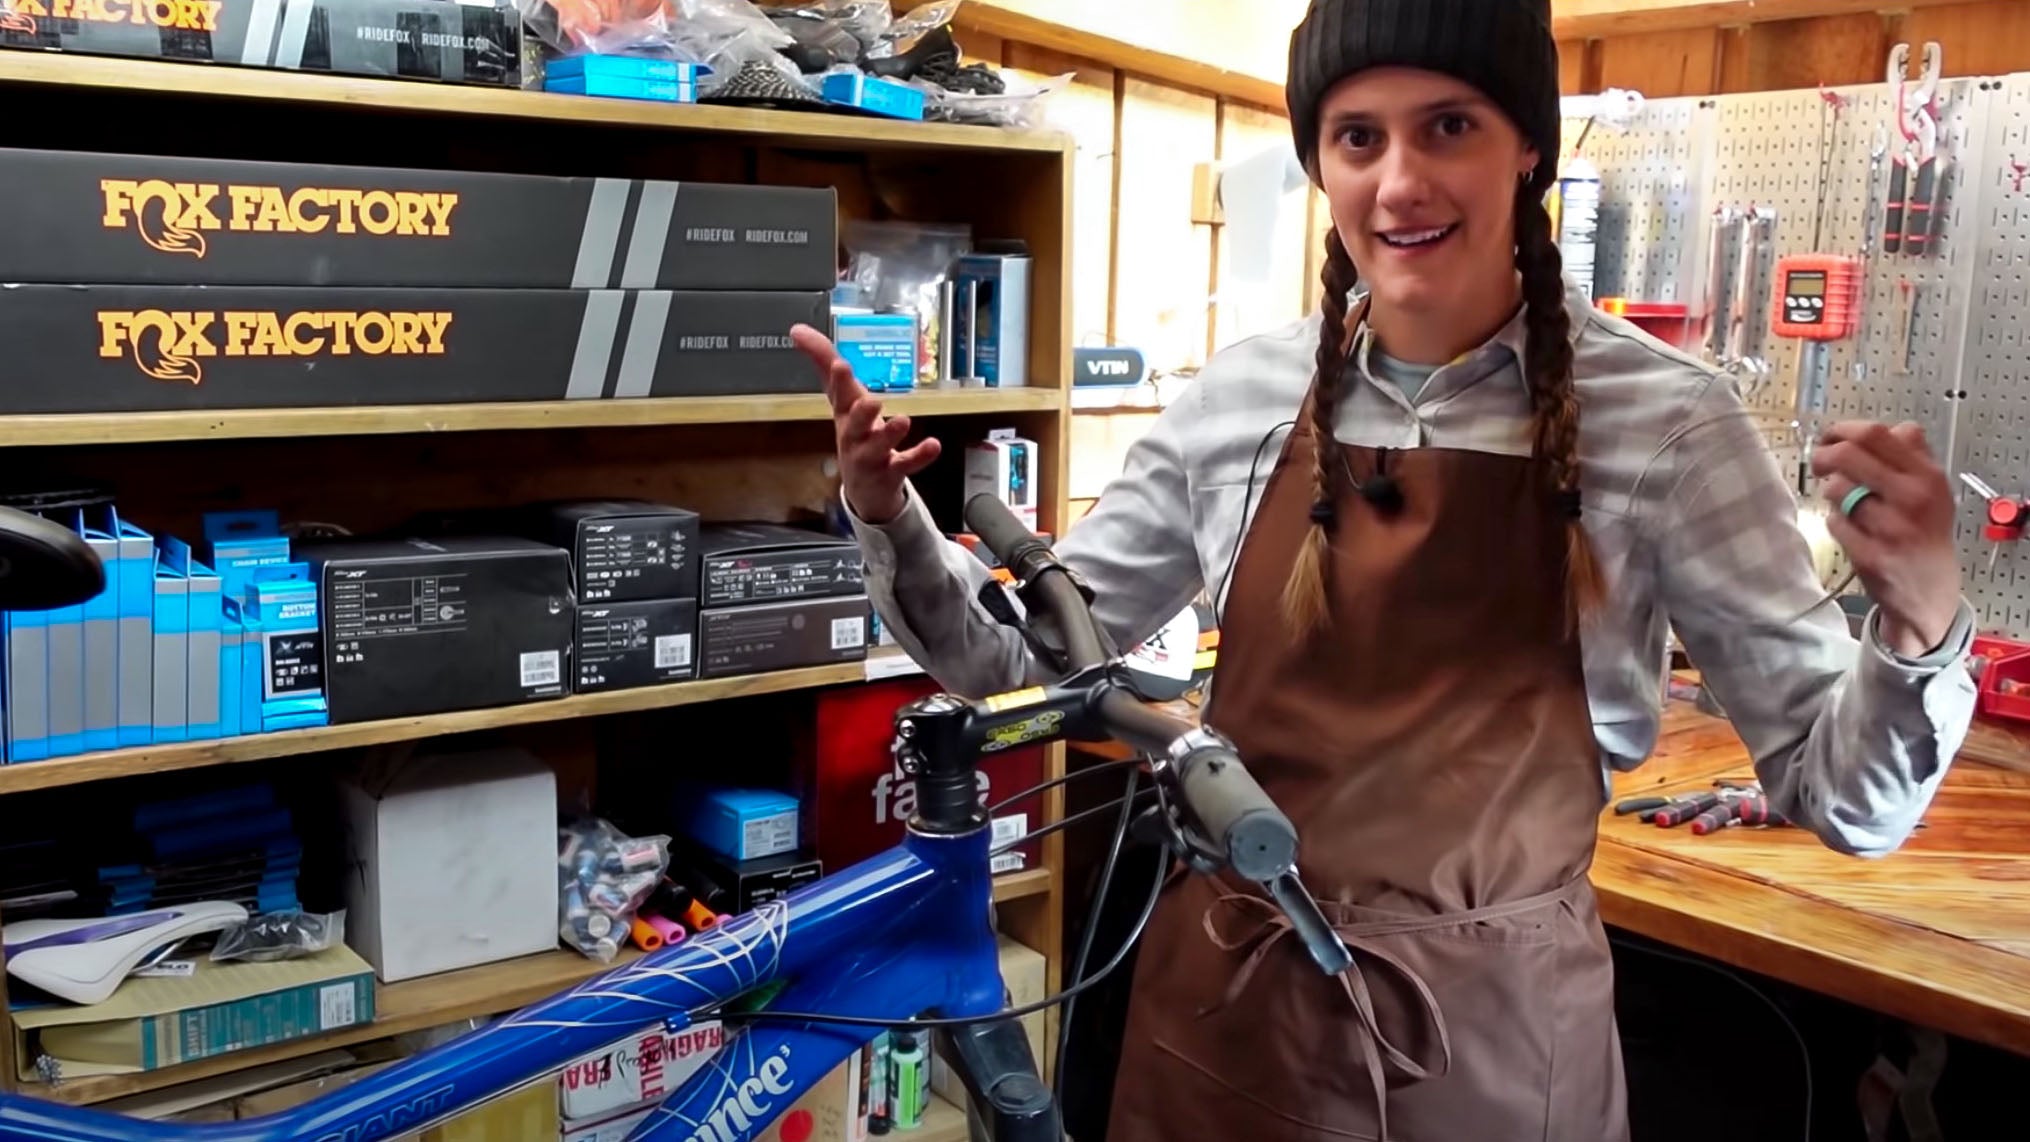
In 2020 I suffered a major injury that kept me off the bike for the entire year. That, plus covid-19, made for some pretty rough times. One of the ways I coped was by learning how to wrench on my own bike. Previously, I could barely fix a flat tire, but I had a good teacher (my husband, Macky) and working on bikes became a way to stay sane while expanding my skillset, even if I wasn’t riding. My bike maintenance lessons were pretty hilarious, and I found myself making a lot of dumb mistakes—errors that you don’t usually see in pro bike maintenance tutorials on YouTube. We decided to publish these lessons online to create a space for pressure-free, beginner-friendly bike maintenance tutorials. Thus, our channel SYD FIXES BIKES was born. I’ll be sharing some of my tutorials here on the PEARL iZUMi blog. So if you’re new to riding or just starting to do your own bike maintenance, you’re in the right place!
In this video, I go over how to change shifter cables and housing. This task, along with swapping tires and fixing flats, is one of the first things that I would recommend new mechanics learn. Why? Well, cables wear out, fray, or get gunky, especially if you often ride in wet or muddy conditions. It’s also way cheaper to replace cable and housing yourself rather than take it to a shop. And it really isn’t that hard, I promise!
For this task, you will need:
- New housing (cable, ferrules, etc.)
- Cable cutters
- Screwdriver
- Needle nose pliers
Step 1:
Shift into the hardest gear/ smallest cog on your cassette (unless you have a rapid rise derailleur like we do in this video), so that when you cut the cable there is no tension on it.

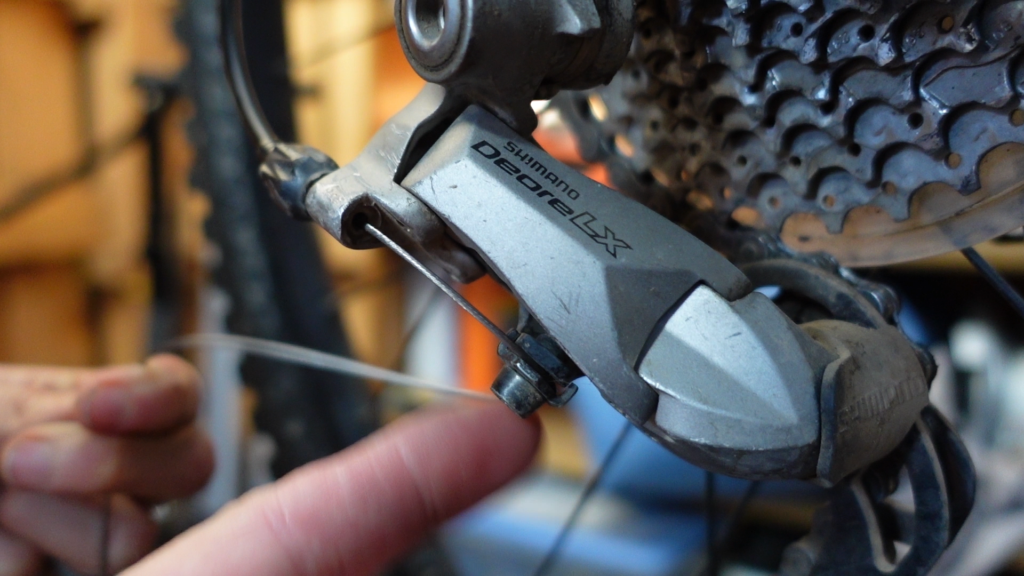
Step 2:
Use your cable cutters to cut the cable behind the cable fixing bolt.

Step 3:
Use the screwdriver to undo the bolt on the outside of your shifter lever. Pull out the cable. If you have internal cable routing, DO NOT PULL OUT YOUR HOUSING. First, go watch our video about internal cable routing here for the safest method of getting the new housing in and measuring your housing, to avoid ending up with an internal cable routing nightmare!

Step 4:
Cut your new housing to the same length as your previous housing. If you have multiple pieces of housing, line them up so you don’t get confused about where they go.

Step 5: Run your new cable back through the shifter. If you are in your hardest gear, you should be able to see light through the hole. If you are having trouble getting the cable through, confirm you are in the correct gear! Then, replace the screw in the back of your shifter. Do it now because it’s easy to forget if you wait!

Step 6:
Add a ferrule and run the cable through the housing. If you have multiple pieces of housing make sure each piece has a ferrule on both sides.

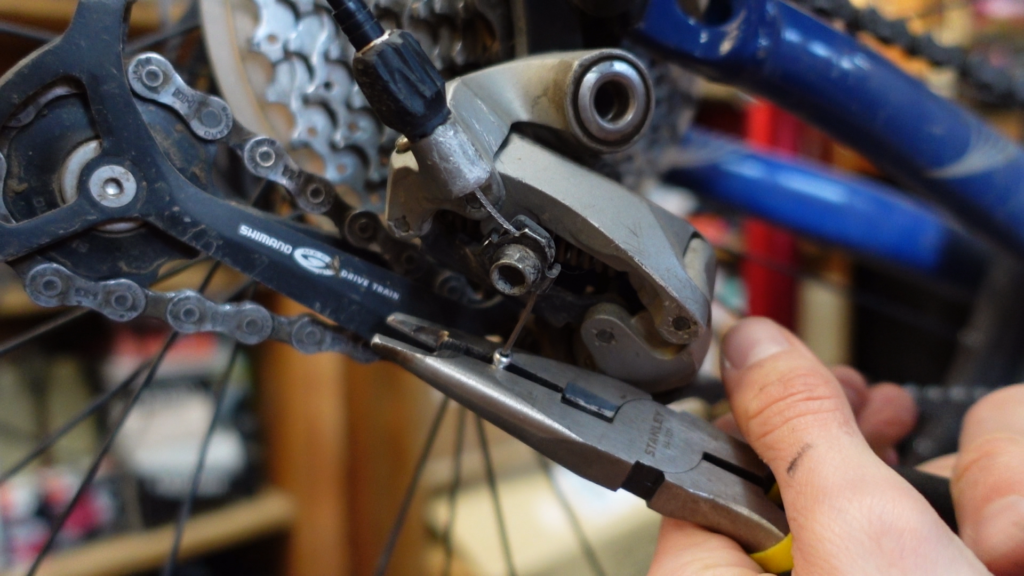
Step 7:
Pull the cable tight and fasten it with the cable fixing bolt.
Step 8:
Cut the cable about 1.5 cm from the bolt. Add your cable end and crimp.
Step 9:
Adjust your derailleur so that it is shifting properly. If you’re not sure how to do that, watch here!


